

Tersa EDA

Filter simulation

Low-pass filter simulation workflow

Learn how Tersa EDA presents low-pass filter simulation with schematic editing, frequency response plots, markers, and tuning-oriented measurement views.

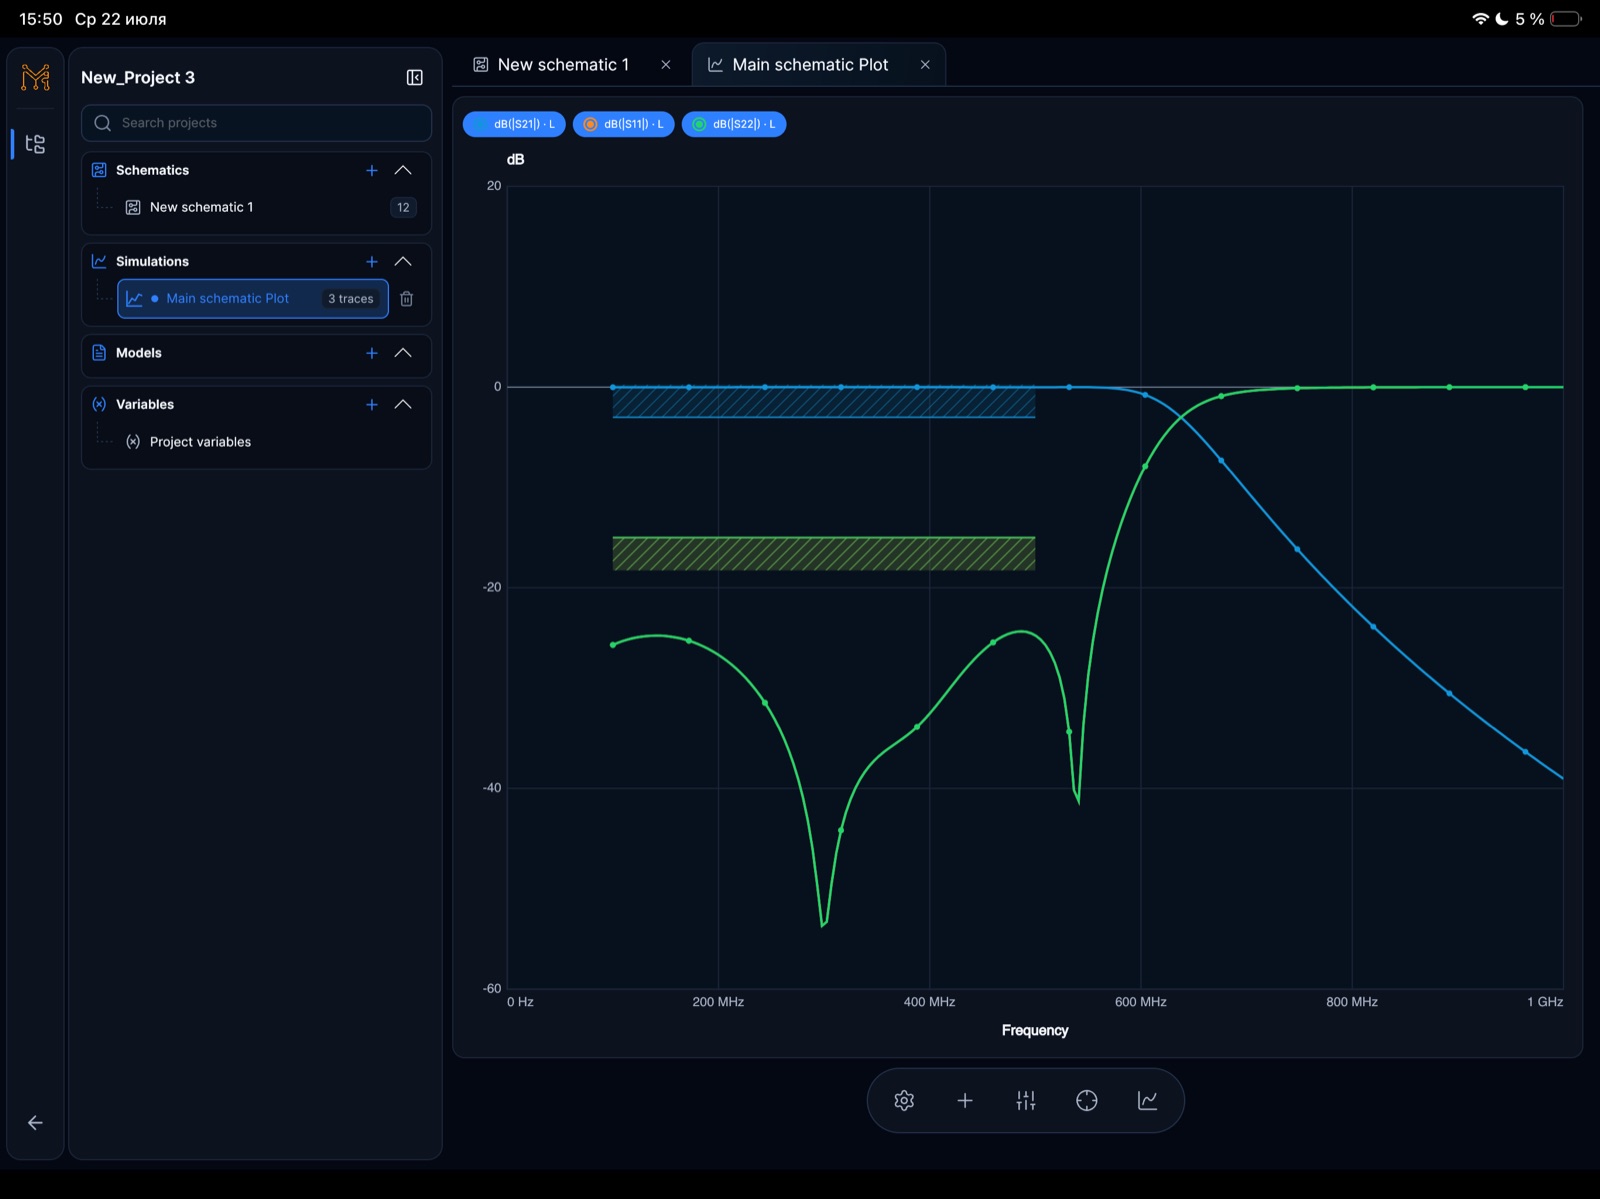
S-parameter response for a low-pass filter in Tersa EDA
Circuit type
low-pass filter
Analysis
frequency response
Views
plots + markers
Use case
RF / analog tuning

01

Set up a low-pass filter simulation

Start with the circuit topology and source/load conditions, then choose a frequency sweep that covers the expected passband, cutoff transition, and enough stopband to evaluate attenuation.

  • Define the source and load impedance
  • Choose a sweep around the expected cutoff
  • Add transmission and reflection measurements
  • Place markers at design frequencies

02

From response shape to tuning decisions

Filter simulation pages should explain what the user can inspect after a run: passband behavior, cutoff region, attenuation, and matching-related signals.

  • Inspect response curves
  • Compare before and after tuning
  • Measure cutoff and stopband attenuation
  • Track return loss while component values change

FAQ

Which analysis is useful for a low-pass filter?

An AC or S-parameter frequency sweep shows passband gain, cutoff behavior, stopband attenuation, and matching over frequency.

What should be tuned first?

Tune the reactive component values against the cutoff and attenuation goals, then verify that return loss remains acceptable in the passband.